Showing posts with label science. Show all posts

Sunday, July 5, 2015

USA, Hooray!

We had a pretty low-key week here at Seedlings summer camp.  Our theme was 4th of July and at the preschool level, when you ask children about Independence Day, they generally associate it with one singular (and totally awesome) thing...FIREWORKS!  So, we spent our week finding creative ways to make fireworks - and a stellar American flag!

Balloon fireworks are quite possibly one of my favorite projects.  I do it every year.  The children love it, I love it and they always come out gorgeous!

If you are brave and not completely glitter-phobic like I am, go ahead and sprinkle some of the shiny stuff on there after your balloon printing, it'll be great!


Ok, so maybe I'm not COMPLETELY glitter-phobic.  My older kiddos made glue and glitter fireworks this week and I must say, they came out so, so pretty.  I might have to change my mind about glitter...maybe.
I had a special request to finger paint this week, so we used some red, white and blue paints for our pictures.  We've got a theme going on here, ya know!?


My toddlers created some paper plate 4th of July wreaths for the occasion.  When doing this project with the little guys, I suggest using a more inner section of the plate, rather than the slanted outer portion which makes gluing difficult for little hands.


I challenged my Pre-K class with a group project, a giant American flag.  I painted the red, white and blue sections on a large piece of cardboard and then they were tasked with filling in each section with the appropriate colors by cutting apart magazines.


I loved this project.  We practiced cutting, gluing, teamwork, responsibility with classroom tools, conversation, problem-solving, and so much more and we ended up with a truly amazing flag!
Fabulous!!


And no 4th of July week would be complete without Fireworks in a Bag!  For a complete explanation of how to do this project, visit last year's post here.

I will add that using very high quality bags makes a huge difference in the POP!  So get the good bags!

POP!!

Happy 4th of July!


Tuesday, December 16, 2014

Easy Icy Sensory Play

A couple of years ago, I had a co-op option at Seedlings.  Parents could volunteer their time in the classroom in exchange for reduced tuition.  I also asked for lesson ideas from my volunteers.  Icy Sensory Play is one of those ideas.  The wonderful Mama who suggested 'just letting the kids play with ice' was so unsure of her idea.  She worried it was boring or 'too simple' and even I wondered how long the ice would keep the children engaged, but this activity was one of the first things on my lesson plans this year for a good reason: it IS simple, but it keeps the children's interest for a very, very, VERY long time.

The set up is easy too, just have lots of ice available (I made some in different shapes this year) and provide various bowls, cups, large utensils and tongs and let the kiddos loose!
I tried to get a picture of my adorable penguin ice, but Bear simply HAD to have that particular piece at that exact moment!
Even Bird popped in to check things out, but she really just liked all of the cups.
And there you have it! Easy Icy Sensory Play!  Try it!


Monday, December 15, 2014

Ice Art

We made some seriously stellar art this week and used lots and LOTS of ice!!  I'm sure my hubby is glad to be able to open the freezer without a bag of brightly colored or fun shaped ice dropping on him. :)

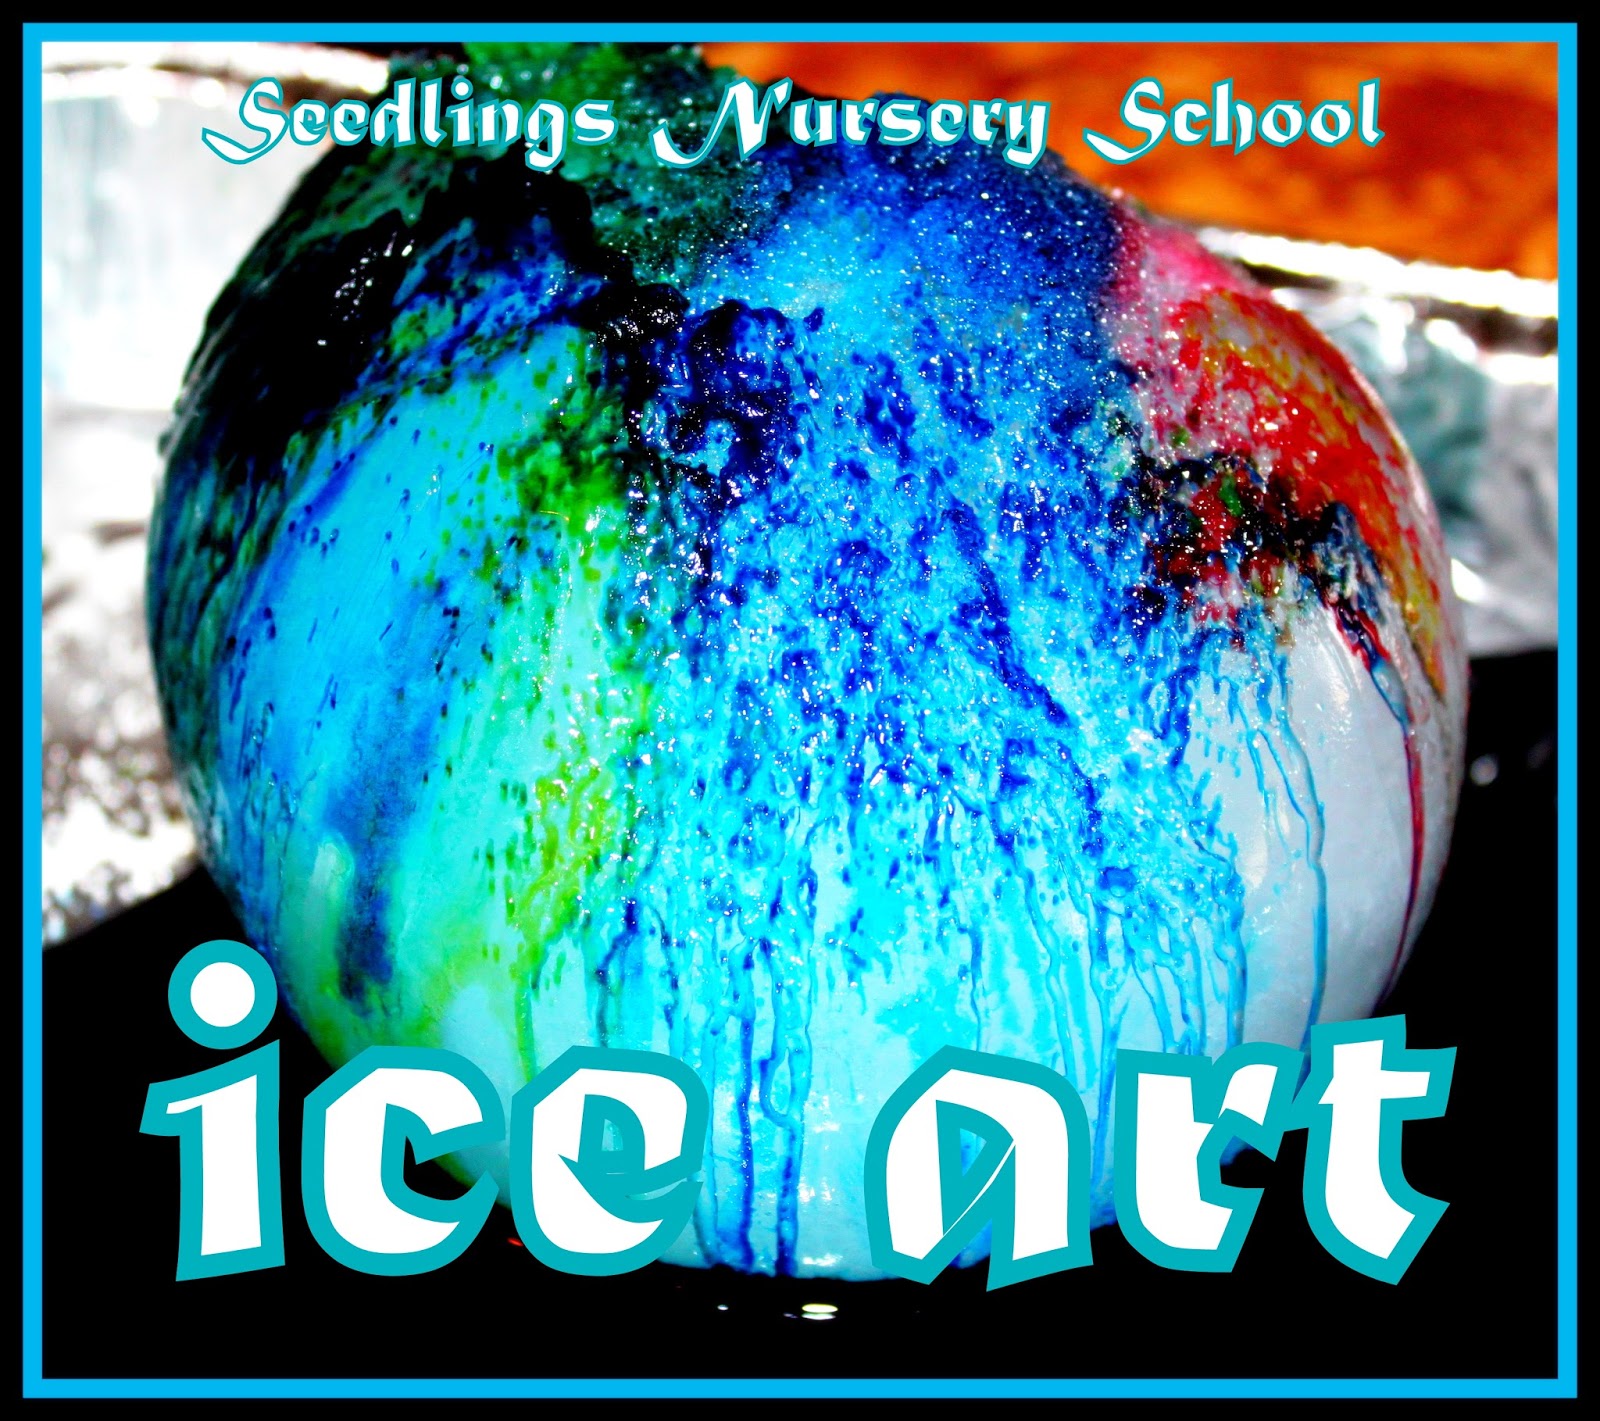
Our first project we've done before, but it's too awesome not to repeat: Watercolor Ice Balls!  A preschool parent found this idea HERE and it was a huge hit with the class the first time around.  I must say, the second time around was equally amazing.
We had just read our Let's Find Out class magazine from Scholastic about a city made completely from ice.  The ice buildings are lit up with colorful lights, so we made our very own colorful ice!  Part science, part art, all FUN!
Sprinkle on some salt, watch the cracks and crevices form and fill them with liquid watercolor - easy!
I also discovered that this activity lasted much longer if I gave the ice balls an occasional rinse with water.  Once the children had a blank canvas again, they were eager to continue adding colors.  Monkey sat with this one for a good half hour!


For our next icy art project, we colored with markers and then 'painted' over our pictures with ice.  The ice causes the markers to bleed, softening the drawing and making it look like watercolors.


How about some ice cube painting??!!  I used my star-shaped ice cube trays with water and some liquid watercolor and added tiny craft sticks to make it easier (and warmer) for little hands.  Here's a tip: let the cubes sit for a few minutes before starting to paint.  Once they've begun to melt, the color glides onto the paper smoothly.


Our final icy art project, Ice Sculpture, isn't actually ice at all.
These are corn starch packing peanuts that just happened to show up in a box last week.  I decided "ice" sculpting sounded like a wonderful way to start our next class.  Just a tiny dab of water and these peanuts stick together to create anything a child can imagine!
Even toddlers can get in on the sculpting action!
My students went home with extremely impressive sculptures!  I wish I had pictures of all of them!


Sunday, December 14, 2014

Preschool Science: Water!

We had a blast last week exploring all things water and ice!  I think next year, I will have to expand this topic for at least another week, we did so much and there is still so much left to discover!

We started the week off with an Absorb/Repel Exploration Station, inspired by Little Bins for Little Hands.  I set up a variety of items including foil, foam, a sponge, a tissue, a cloth napkin, a plastic bag, a wooden block, a plastic block, parchment paper, construction paper and bubble wrap.  I secured everything to the table and gave the children a bowl of water and a pipette and the testing began.
As they tested, we used the words ABSORB and REPEL.  Bear was surprised that the parchment paper repelled at first, but after a while, absorbed the water he had put on it earlier.  He kept testing and testing, just to be sure it would happen every time.
After all of our testing was complete, we documented our findings in our science journals.

To further demonstrate absorption, we built sugar cube towers and added some water and food coloring.  Then we watched.
I think I got a bit excited about the rapid absorption and we ended up with a puddle.
But then we added a new word to our science adventures: DISSOLVE!!
The second time around, I was a bit more conservative and our towers stayed upright.
It took a loooooooong time, but that color did finally make its way up to the second cube.

Later in the week, we had a Float/Sink Exploration Station.  
I used a few fun holiday items we had around the classroom as well as a penny, rock, marble, plastic lid, wooden bead, plastic shape cutter, etc.  Anything would work as long as there is a balance of items that will sink and float.
I nearly had to drag the kiddos away from this one to document!!


More water and ice fun coming soon!


Wednesday, December 10, 2014

Whatever the Weather...

We recently revisited Seasons and Weather in our lessons and activities.  Check out some of our previous adventures here:

We did some of the same activities and added some new ones for good measure!
Last year's favorite was definitely rainbow rain, so we had to repeat that one for sure!

We made our own 'snow' using Insta-Snow Powder.  While it doesn't feel exactly like real snow, it's pretty close and certainly fun for Arizona kiddos, many of whom have never seen real snow.  As an added bonus, it's a science experiment!  Just look at that concentration trying to figure out how that itty bitty bit of powder is turning into snow!
When everyone was finished playing, I put all of the snow into our big sensory table for everyone to share!

This totally rad kid-made Sun Bread was our snack one day during weather week - so yummy!!!

Another activity we usually can't do in our area is leaf rubbing.  While there are some trees around with larger leaves, I don't personally have any nearby.  However, I do have an awesome preschool parent who was kind enough to bring me leaves when she went on vacation and I laminated them and have been using them for a couple of years now.  I was surprised to find they make absolutely perfect leaf rubbings despite being laminated!  My block crayons also make shading easy-peasy for even the youngest kiddos. :)

Whether the weather be fine,
Or whether the weather be not,
Whether the weather be cold,
Or whether the weather be hot,
We'll weather the weather
Whatever the weather,
Whether we like it or not! 

- Anonymous

Related Posts Plugin for WordPress, Blogger...