
I love making suncatchers. I used to do it every month and vary the shape depending on the theme, season or holiday, however, my old suncatcher creation method was tedious to say the least and they slowly got pushed to the back burner. Not only would I have to cut the contact paper, but I'd also have to cut a narrow border for each child. If you are making a basic shape, circle, heart, even a star, no problem, right? But how about a leaf? No thanks.
I was determined to find a new method. I apologize to any amazing bloggers out there who have already discovered the secret to lazy suncatcher-making. It's new to me, so here it is for you.
Start by folding a sheet of 9x12 construction paper in half to more easily cut a symmetrical shape. We did leaves, but it could be any shape you like. If you are super-lazy like I am, you'll cut 3 or more pieces of paper at once. Set the paper aside.
Next, cut squares of contact paper so the sticky part will completely overlap your shape cut-out, but is not larger than the 9x12 paper.
Tape the contact paper square -sticky side up- to the table to make it easier for the little ones to stick their tissue paper on top. Bear was all ready to get started.

Remove the top sheet from your contact paper and then place your construction paper on top, creating a 'window' for the kiddos to decorate.

Start sticking!


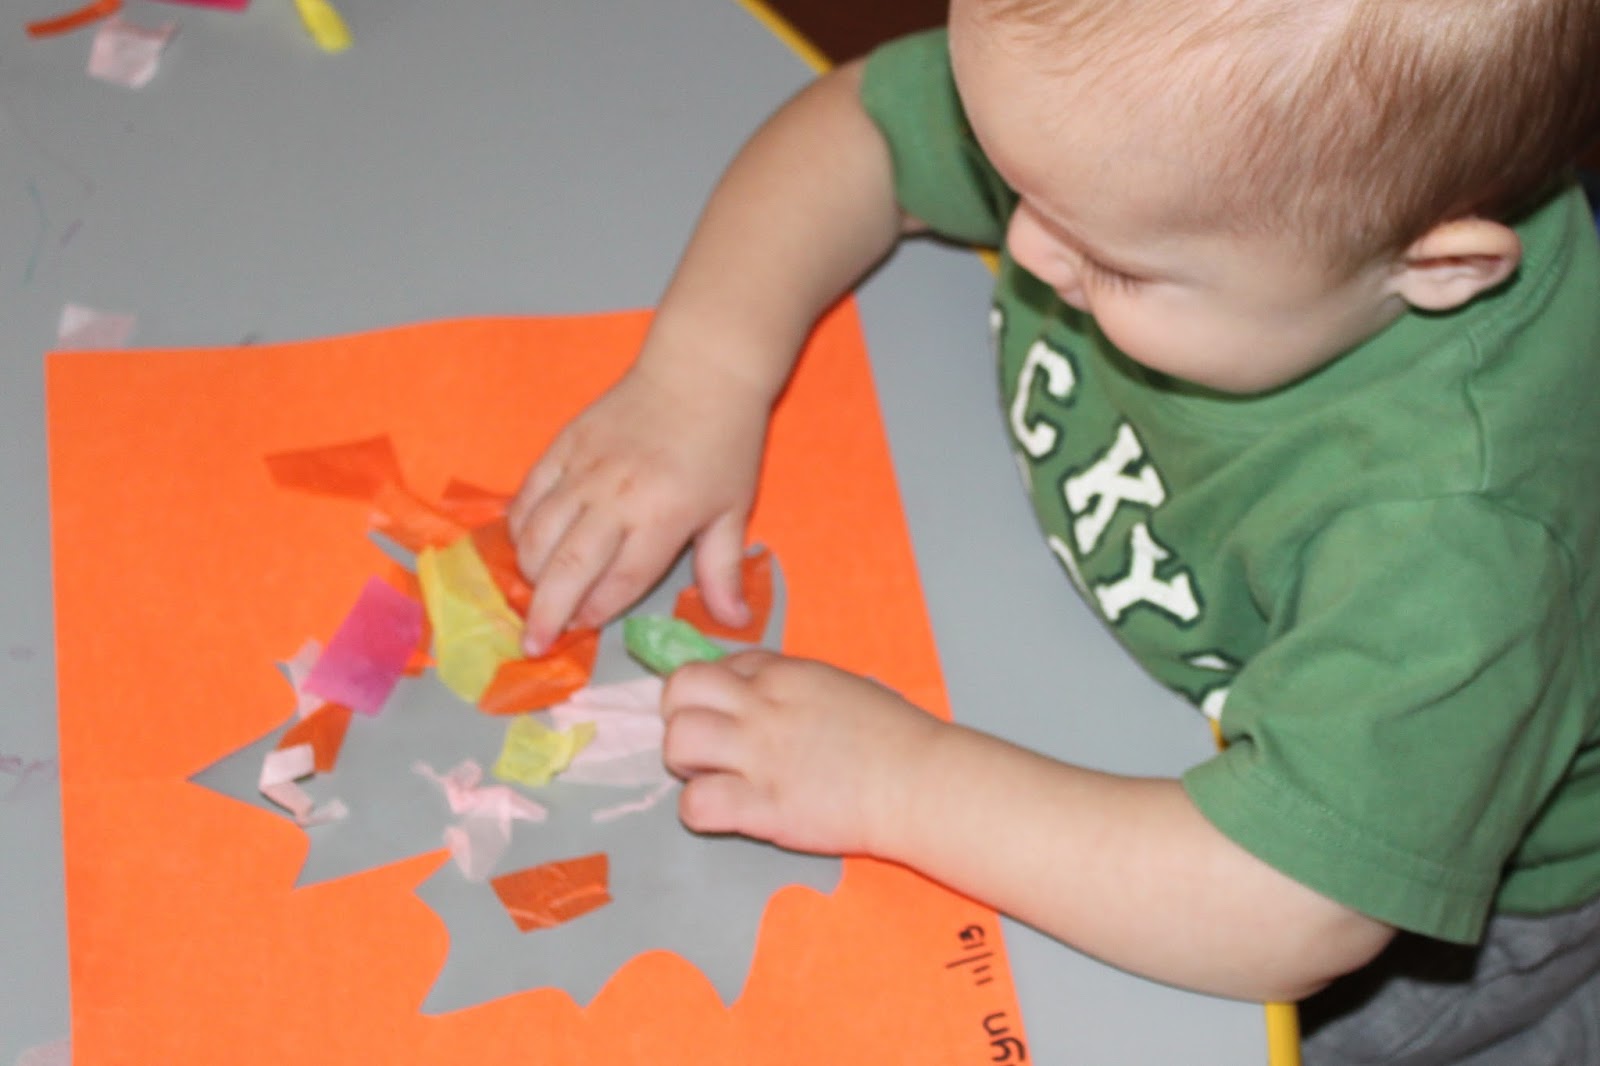
Monkey preferred the 'press' method.

Bear was more into the 'rip and stick' method.

Once the artwork is complete, cover with another square of contact paper, which will again overlap the cut-out portion of the 9x12 sheet.
Voila! You are done with no detailed cutting of less-than-user-friendly contact paper!
Display your little one's artwork on the window and enjoy!

No comments:
Post a Comment
Note: Only a member of this blog may post a comment.